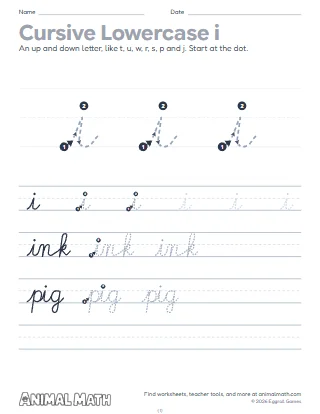
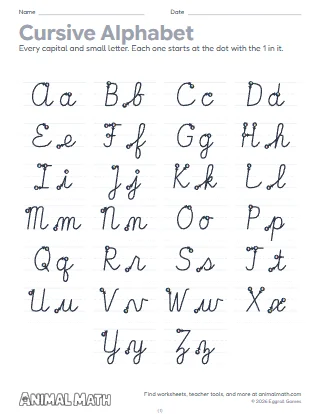
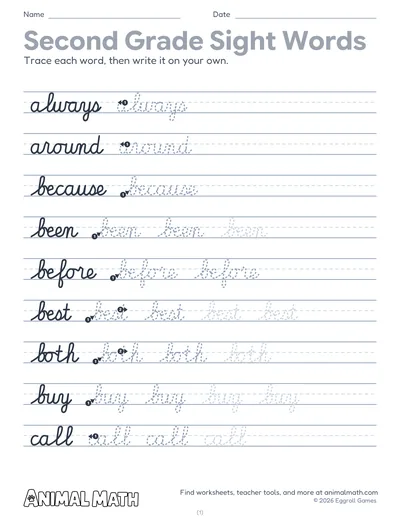
Eight pages, one for each kind of join, with eight pairs of letters on each. Most letters end on the baseline, and the first four pages join from there: up to the middle line, up to the loop letters, up and over the top of a, c, d, g, o and q, and over into the hump letters. Then a page each for the joins from b, o, and v and w, which end on the middle line, so the next letter joins from up there: the hard joins like on, os, br and wr. The last page has pairs that come up in many words. Each row shows the pair in ink with its joining stroke in orange, then copies to trace that fade, then room to write it.
Use a page once children know the letters in it. Model the pair on lined chart paper and trace the join in a different color, so children see where one letter ends and the next begins. Have them say the pair as they trace it, then write it on their own and circle their best one.
Do one page at a time. Ask your child to show you where the pencil goes between the two letters, then trace and write. A smooth join matters more than a perfect letter.
Handwriting pages that practice joining one cursive letter to the next, a page for each kind of join. Children trace each pair of letters with the joining stroke shown in its example, then write the pair on their own.
Tell us what to make next, or build your own with a worksheet maker.
This worksheet is free to download, print, copy, and hand out in your classroom or at home. You do not need to create an account, and there are no watermarks on the PDF.